Buttermilk Blueberry Waffles: Crisp, Fluffy & Flavorful Mornings Start Here
Imagine waking up to the aroma of warm, vanilla-scented waffles, golden brown and perfectly crisp on the outside, yet tender and fluffy within. Now, picture each bite bursting with the sweet, juicy goodness of blueberries, complemented by a subtle, tangy undertone. This isn't just a dream; it's the reality of how to make crispy fluffy blueberry waffles at home, especially when you harness the power of buttermilk.
Homemade blueberry waffles are an absolute delight, transforming any ordinary morning into a special occasion. Whether it’s a leisurely weekend brunch or a quick, comforting start to a busy weekday (thanks to clever freezing tips!), these buttermilk blueberry waffles are designed to deliver an unparalleled flavor and texture experience. They strike the perfect balance between indulgence and simplicity, proving that gourmet breakfasts are well within reach for any home cook.
The Magic of Buttermilk in Blueberry Waffles
While many ingredients contribute to a spectacular waffle, buttermilk truly plays a starring role in elevating blueberry waffles from good to absolutely sublime. Its unique properties are key to achieving that coveted light and airy texture, alongside a subtly complex flavor profile.
- Chemical Leavening Power: Buttermilk is acidic. When combined with baking soda (an alkaline ingredient), it creates a chemical reaction that produces carbon dioxide gas. This gas gets trapped in the batter, expanding during cooking and resulting in an incredible "lift." This lift is what gives your waffles their signature fluffy interior. Without this acidic kick, your waffles would be far denser and less tender.
- Enhanced Flavor and Moisture: Beyond its leavening abilities, buttermilk imparts a gentle tanginess that perfectly balances the sweetness of the blueberries and any added sugar. This slight acidity also contributes to a richer, more nuanced flavor than regular milk could provide. Furthermore, buttermilk helps to keep the waffles wonderfully moist without making them heavy, ensuring a tender crumb that melts in your mouth.
Pro Tip: No Buttermilk? No Problem! If you don't have buttermilk on hand, you can easily make a substitute. For every cup of buttermilk needed, simply pour 1 tablespoon of white vinegar or lemon juice into a measuring cup, then fill the rest of the cup with regular milk (dairy or non-dairy). Stir gently and let it sit for 5-10 minutes until it slightly curdles. While not identical, this substitute works remarkably well to activate the baking soda and provide some of that essential tang and tenderness.
Crafting the Perfect Batter: Tips for Fluffiness and Flavor
The foundation of any great waffle is a well-made batter. For buttermilk blueberry waffles, a few simple techniques can make all the difference in achieving maximum fluffiness and flavor:
- Dry and Wet Separation: Always mix your dry ingredients (flour, sugar, baking powder, baking soda, salt) thoroughly in one bowl and your wet ingredients (buttermilk, eggs, melted butter or oil, vanilla extract, almond extract) in another. This ensures even distribution of leavening agents and flavors before combining.
- The Almond Extract Advantage: While vanilla extract is a given, a touch of almond extract is the secret weapon for these blueberry waffles. Just a small amount significantly elevates the overall flavor profile, adding a sophisticated, nutty undertone that harmonizes beautifully with both the vanilla and the sweet-tart blueberries. It's an unexpected touch that truly transforms the dish.
- Gentle Mixing is Key: Once you combine the wet and dry ingredients, mix just until they are barely incorporated. A few lumps are perfectly fine! Overmixing develops gluten, which can lead to tough, chewy waffles rather than the light, fluffy kind we're aiming for. Stop mixing as soon as you no longer see streaks of dry flour.
- Room Temperature Ingredients: For a smoother, lump-free batter and better emulsion (meaning the fat and liquid mix well), ensure your eggs and buttermilk are at room temperature before mixing. This also helps the batter cook more evenly.
- Flavor Enhancements: Don't hesitate to experiment! A little lemon zest grated into the wet ingredients before mixing can further brighten the blueberry flavor, adding another layer of aromatic complexity.
Fresh vs. Frozen Blueberries: What You Need to Know
One of the most appealing aspects of these easy homemade blueberry waffles: fresh or frozen berries both work wonderfully, offering flexibility regardless of the season.
- Using Frozen Blueberries: The best part about frozen blueberries is that you don't need to thaw them first. Adding them directly from the freezer helps prevent the berries from "bleeding" their color into the batter excessively, keeping your waffles looking vibrant. It also helps them maintain their shape and burst less violently during cooking.
- Using Fresh Blueberries: Fresh blueberries offer a slightly firmer texture and a brighter, more pronounced "pop" of flavor. They're excellent when in season and readily available.
- Preventing Stickage and Sinking: Blueberries, especially when they burst, can sometimes stick to your waffle iron. To minimize this and ensure even distribution throughout the batter, try this trick: gently toss your blueberries (whether fresh or frozen) with 1-2 tablespoons of flour before folding them into the finished batter. The flour creates a protective coating and helps the berries suspend better, preventing them from sinking to the bottom.
Waffle Iron Wisdom: Achieving That Golden Crisp
A significant part of the allure of buttermilk blueberry waffles is their perfectly crisp exterior, which beautifully contrasts with the soft, fluffy interior. Your waffle iron is your best friend here, but knowing how to use it optimally is crucial:
- Preheating is Paramount: Always allow your waffle iron to fully preheat before adding any batter. Most irons have an indicator light that signals when it's ready. A hot iron ensures immediate crisping of the exterior, preventing sogginess and promoting even cooking.
- Grease Between Rounds: Even with non-stick waffle irons, it's wise to lightly grease the plates between each batch of waffles, especially when cooking with fruit. Blueberries, when they burst, release sugary juices that can stick. A light spray of cooking oil or a brush of melted butter ensures easy release and maintains that beautiful golden-brown finish.
- Don't Overfill: Resist the urge to ladle too much batter into your waffle iron. Overfilling can lead to uneven cooking, batter spilling over the sides, and a less crisp result because steam can't escape effectively. Follow your waffle iron's recommended fill line, or start with about ½ to ¾ cup of batter for a standard iron, adjusting as needed.
- Cook Until Golden and Steamed Stops: Cook waffles until they are golden brown and crisp, and significantly, until steam is no longer visibly escaping from the sides of the iron. This indicates that much of the moisture has evaporated, contributing to that desired crispness.
Serving Suggestions & Storage Tips for Your Blueberry Waffles
Once your irresistible buttermilk blueberry waffles are ready, the fun continues with creative serving and smart storage solutions:
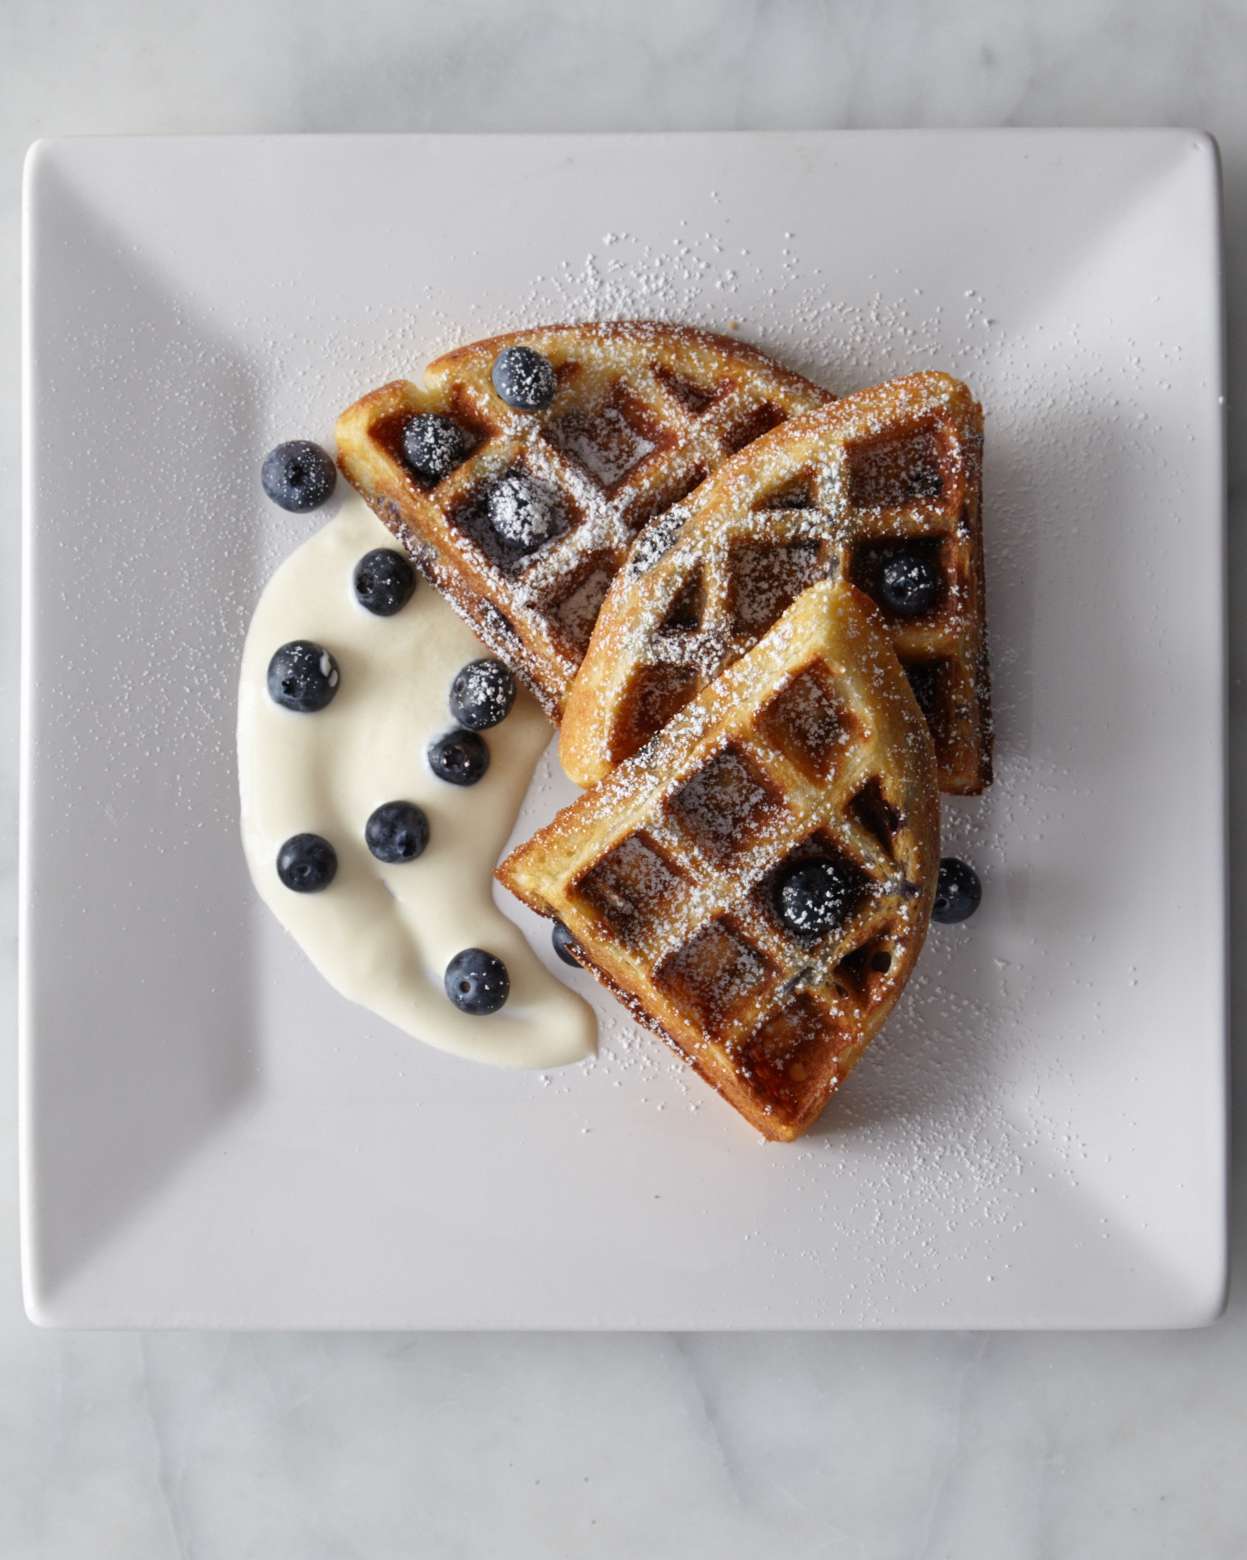
- Classic Toppings: A drizzle of warm maple syrup is a timeless choice. Add a dollop of whipped cream and a sprinkle of fresh blueberries for an extra touch of elegance and flavor.
- Creative Combos: For something different, try a spoonful of lemon curd to complement the blueberries' tang, a scoop of vanilla ice cream for a decadent dessert, or a dusting of powdered sugar for simple charm. A berry compote or a dollop of Greek yogurt with a drizzle of honey also makes for a delightful pairing.
- Keeping Waffles Crisp: As you make batches, place cooked waffles directly on a wire rack to prevent them from becoming soggy. If you're serving a crowd, you can keep them warm and crisp in a single layer on a baking sheet in a preheated oven at 200°F (95°C) while you finish cooking the rest.
- Freezing for Future Feasts: These waffles are excellent for meal prepping! Allow them to cool completely on a wire rack. Once fully cooled, transfer them to an airtight freezer bag or container, separating layers with parchment paper to prevent sticking. They can be frozen for up to 2-3 months.
- Reheating Perfection: To enjoy frozen waffles, pop them directly into a toaster, toaster oven, or even an oven until they are hot, crisp, and warmed through. This convenience makes them an ideal quick breakfast solution on busy weekday mornings, bringing weekend joy to any day of the week.
There’s truly nothing quite like a stack of homemade buttermilk blueberry waffles to brighten your day. With their irresistible crisp exterior, tender fluffy interior, and bursts of sweet-tart blueberries, they offer a gourmet breakfast experience that’s surprisingly simple to achieve. By understanding the role of buttermilk, mastering your batter, and using your waffle iron wisely, you can consistently create a memorable dish that will have everyone asking for more. So, gather your ingredients, fire up your waffle iron, and prepare to indulge in the pure delight of these flavorful blueberry waffles!
